Or... How I Built A Potato Planter Box
Potatoes are really fun to grow. It is always so amazing to me that from a few small "seed potatoes" a whole basket full will develop. All summer long the potato plants grow above ground and the new tubers develop, hidden, underground. I wanted to plant potatoes because, if for no other reason, I look forward to harvesting them. It is like digging for treasure! Also, of course, freshly dug potatoes are so delicious!!!
Potatoes need a soil that has good drainage so that the tubers don't rot. They also need a deep soil so that there is plenty of room for the tubers to develop. As I have stated previously, the soil in my yard is mostly clay and rocks, a combination which is not great for growing potatoes. So, some sort of "raised-bed potato-planter-box" was in order!
Since I had decided to go with wooden framed raised garden beds, I wanted a potato planter box that would look similar to the wooden frames that I was using for the rest of the garden. I know that as the season progresses I will have to "hill up" the potato plants....add more soil to encourage more potatoes to form underground. I envisioned the potato planter box would start out as a shallow frame, and then I would add on another shallow frame on top of the first one and perhaps another shallow frame on top of the second one, etc. The frames had to fit one on top of the other securely so they wouldn't topple or tip over. I also remember that in the Fall when I dig the potatoes up, I'm going to have to take this potato box apart. So, the finished box layers needed to be sturdy, fit together well, yet be lightweight, and easy to take apart.
I searched on the internet for ideas. In the end, I think I combined several different ideas for my potato planter box.
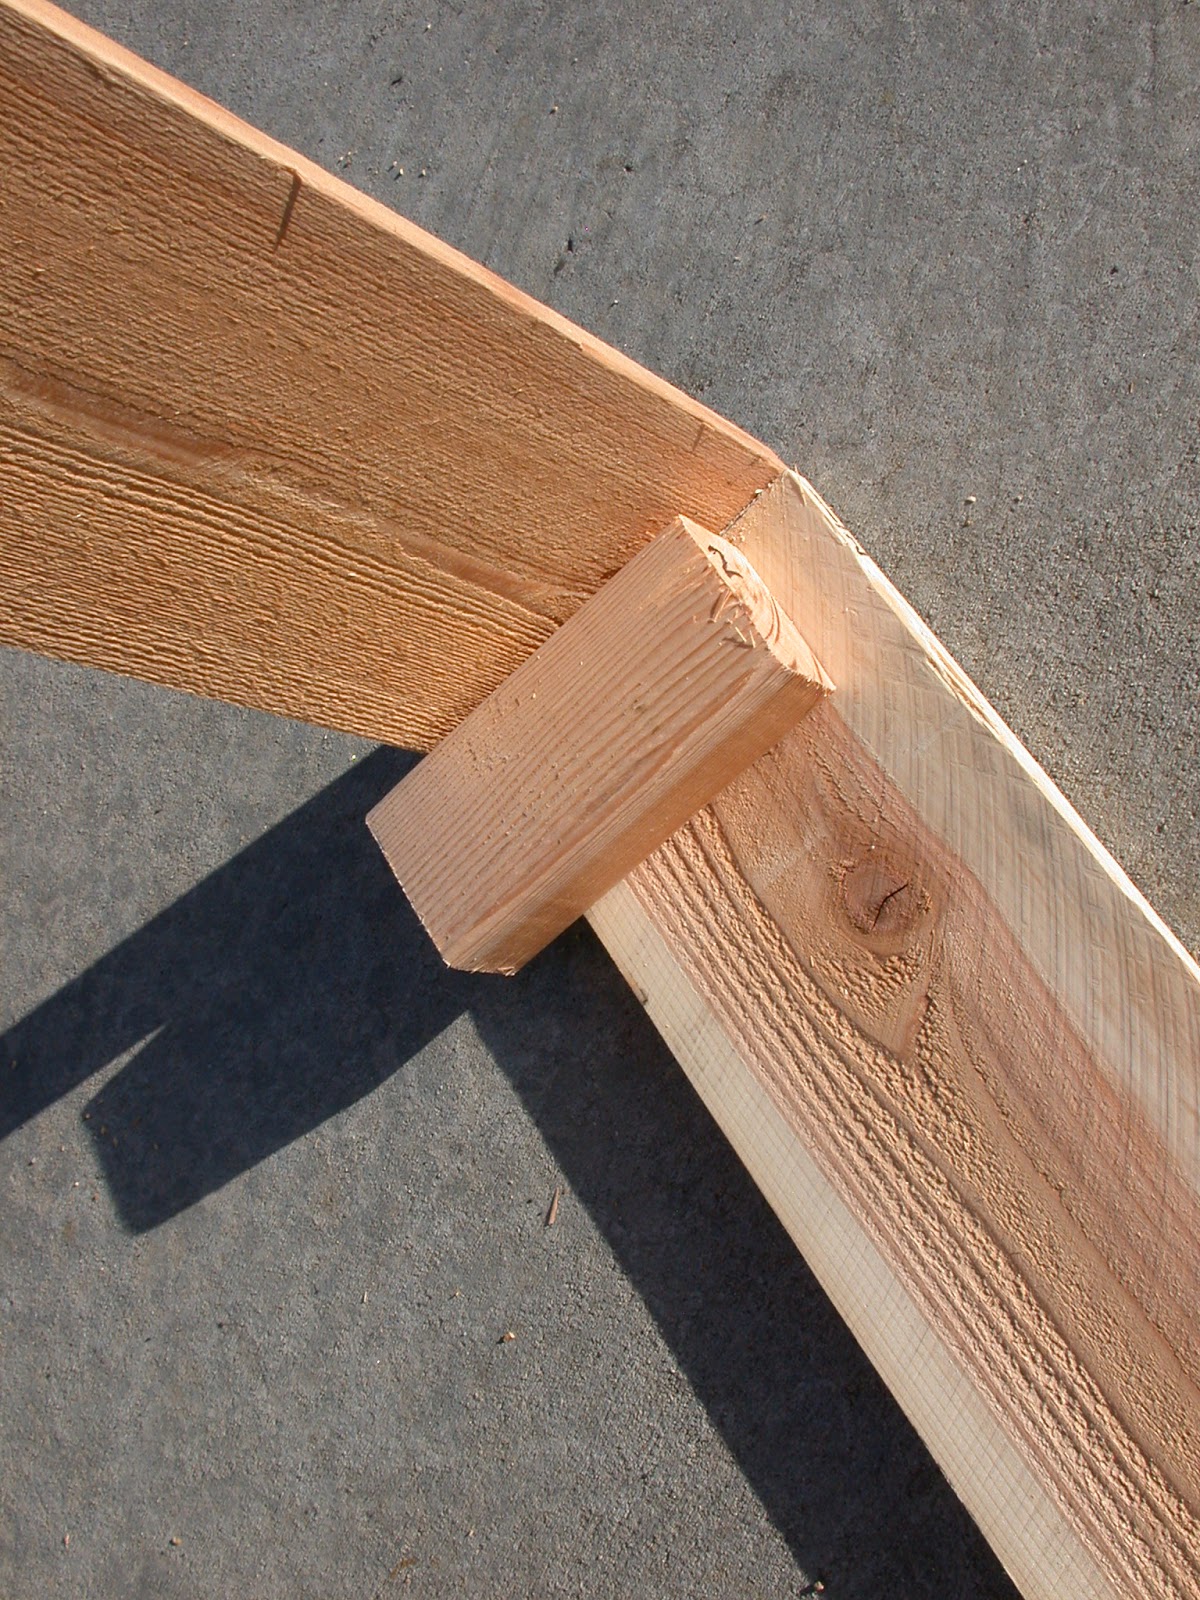
It took me a while to figure out the materials that I would use. I settled on unfinished 6"X6' cedar fencing. I also used 4" pieces of 2"x3" pine to secure and support the corners.
 |
I cut the cedar fencing in 3' lengths.
I also cut the 2"X3" lumber into 4" lengths. |
 |
| I drilled pilot holes. |
 |
| And then fastened the corners together with screws. |
 |
The bottom frame looks like this. It sits flat on the ground.
The corner supports are offset from the top edge so that
the second frame will fit snugly on top. |
 |
On the second frame, I fastened the corner supports so that
they would extend down into the first box. |
 |
| I made sure that the two frames would fit on top of each other. |
 |
| Like this. |
 |
| Then I made a third frame to go on top of the second one. |
 |
| And I made sure that it fit together well. |
 |
| It fits! |
 |
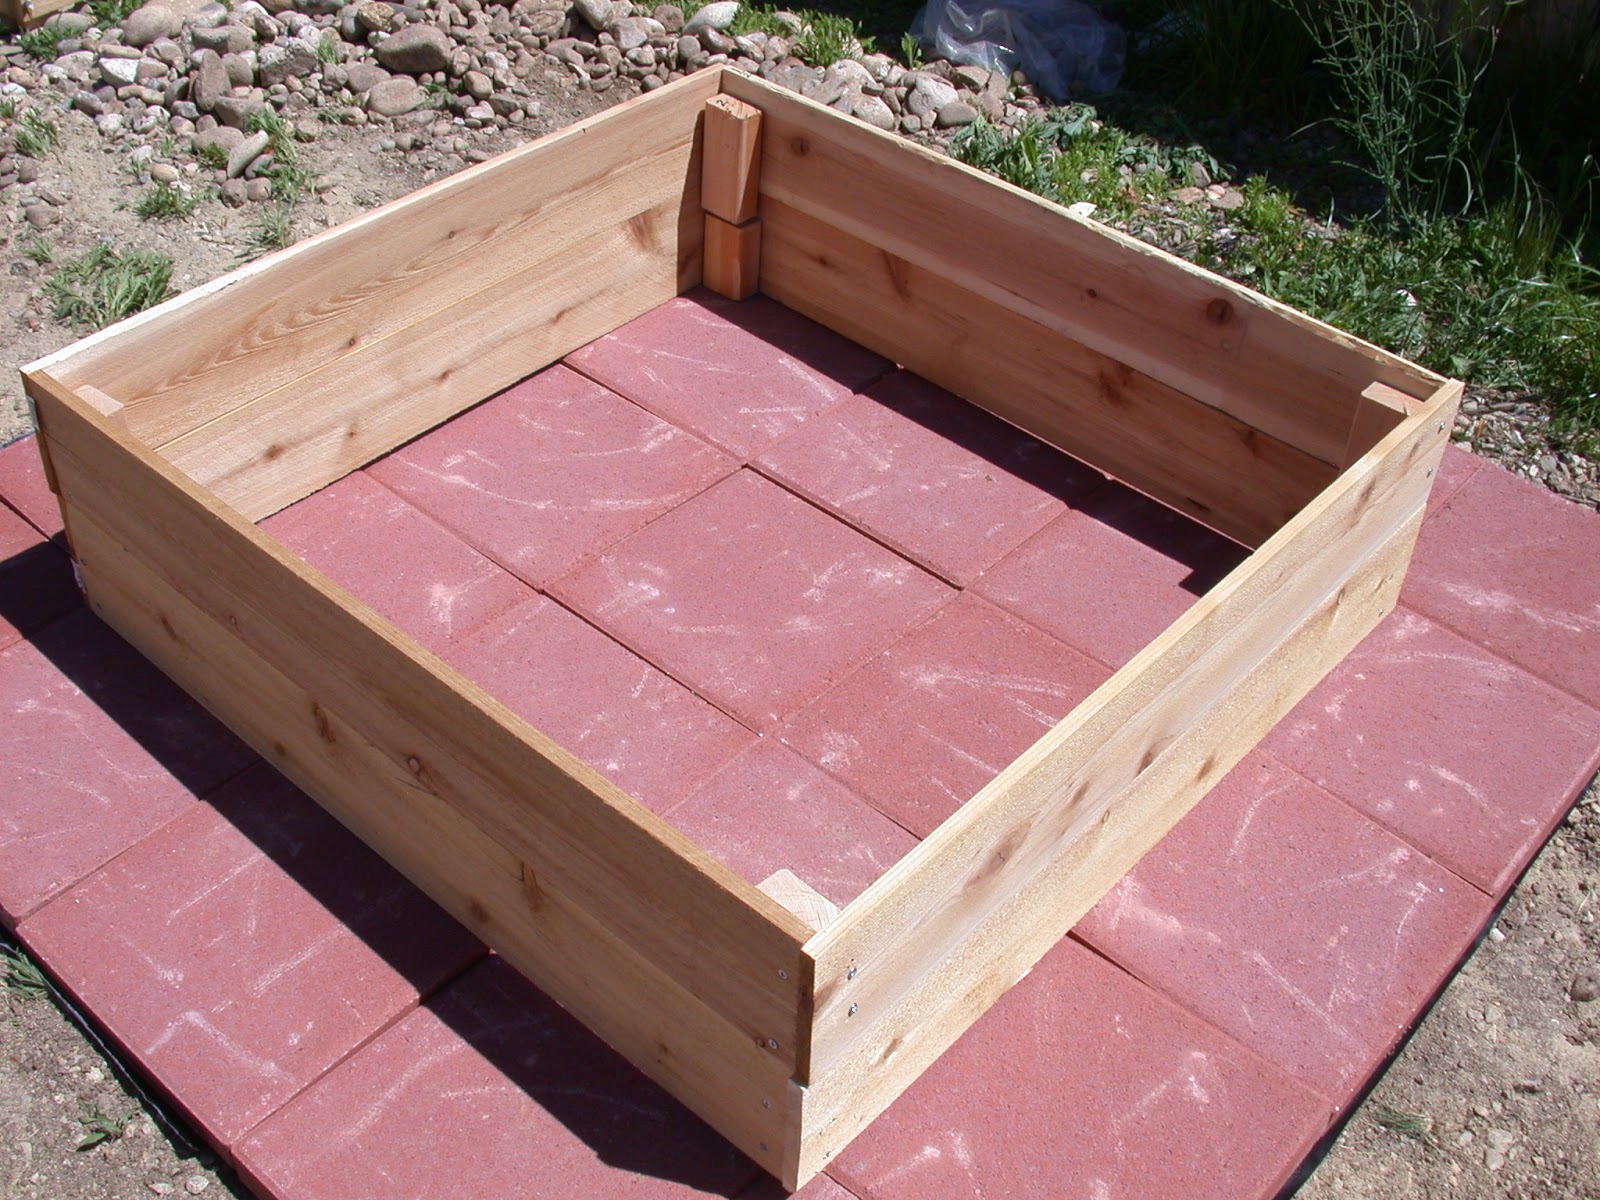
| Here is the finished potato planter box. |
You can see, in the picture below, that weeds grow pretty well in this rocky clay soil. I did not want the excess water that I would use in growing the potatoes to encourage more weeds to sprout up through the potato planter box. So, I first pulled all the weeds in that area. Then I raked it smooth and laid down a layer of pavers with landscape fabric underneath.
 |
| I put frame #1 and #2 in place on the pavers. |
 |
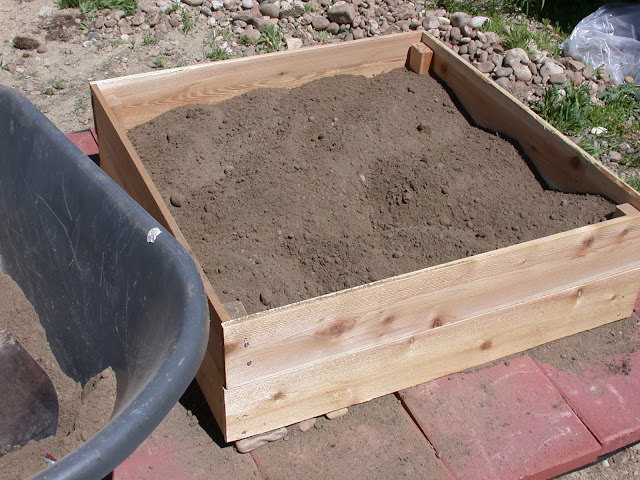
I put in some of the soil from that huge pile of soil that I had purchased.
You can see frame #3 in the background. |
 |
| I made a shallow trench and put the seed potatoes in the trench. |
 |
| I covered the seed potatoes with soil. |
 |
I raked the soil smooth, and I watered it gently
until the soil was good and damp. |
 |
I watered the soil every day.
Two weeks later, the potatoes are coming up! |
I am looking forward to freshly dug potatoes in the Fall!


No comments:
Post a Comment